
The Cordilleras Pillow
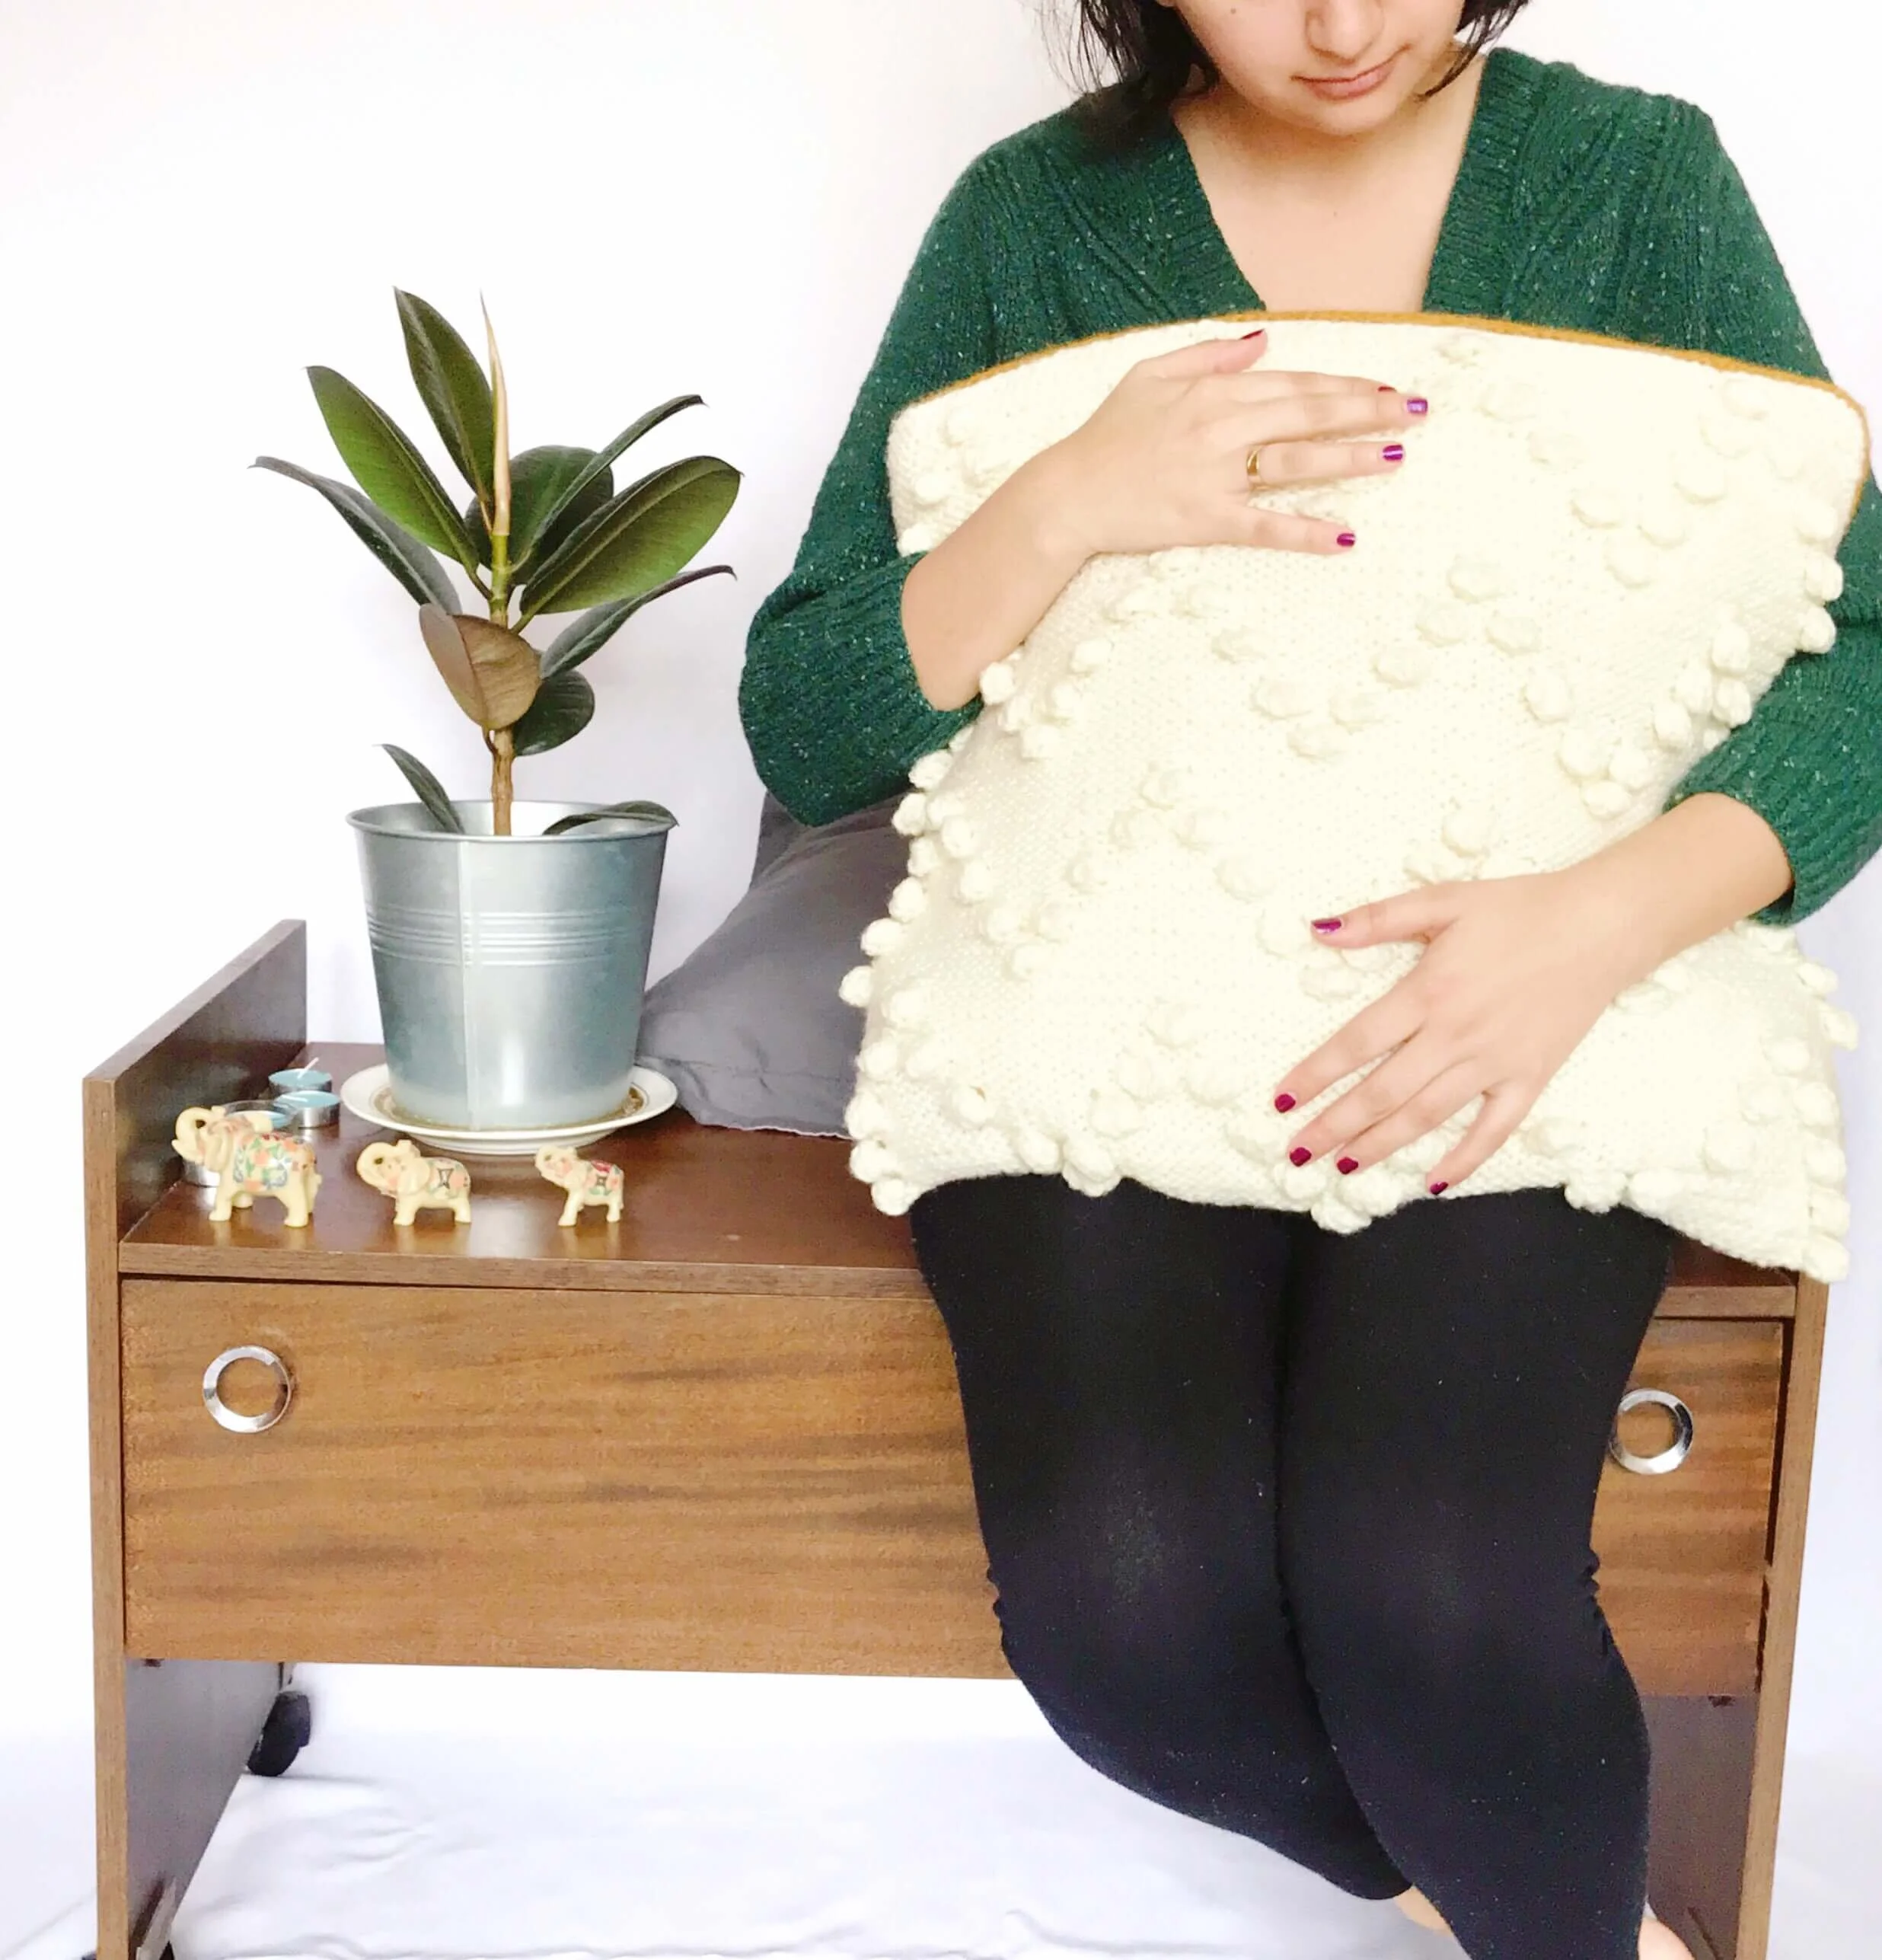
An advanced beginner-friendly knitted pillow cover– my Cordilleras Pillow– is a free knitting pattern here on the blog! Read through my inspiration, my love for boho-chic, materials and stitch patterns used. Or scroll on down for the free pattern.
Edit: do you want to experience the full boho-chic atmosphere right at home? Read this Redfin article with the 17 Designer Must-haves for a Boho Vibe at home, where I got the chance to give my advise!
Introduction + Design
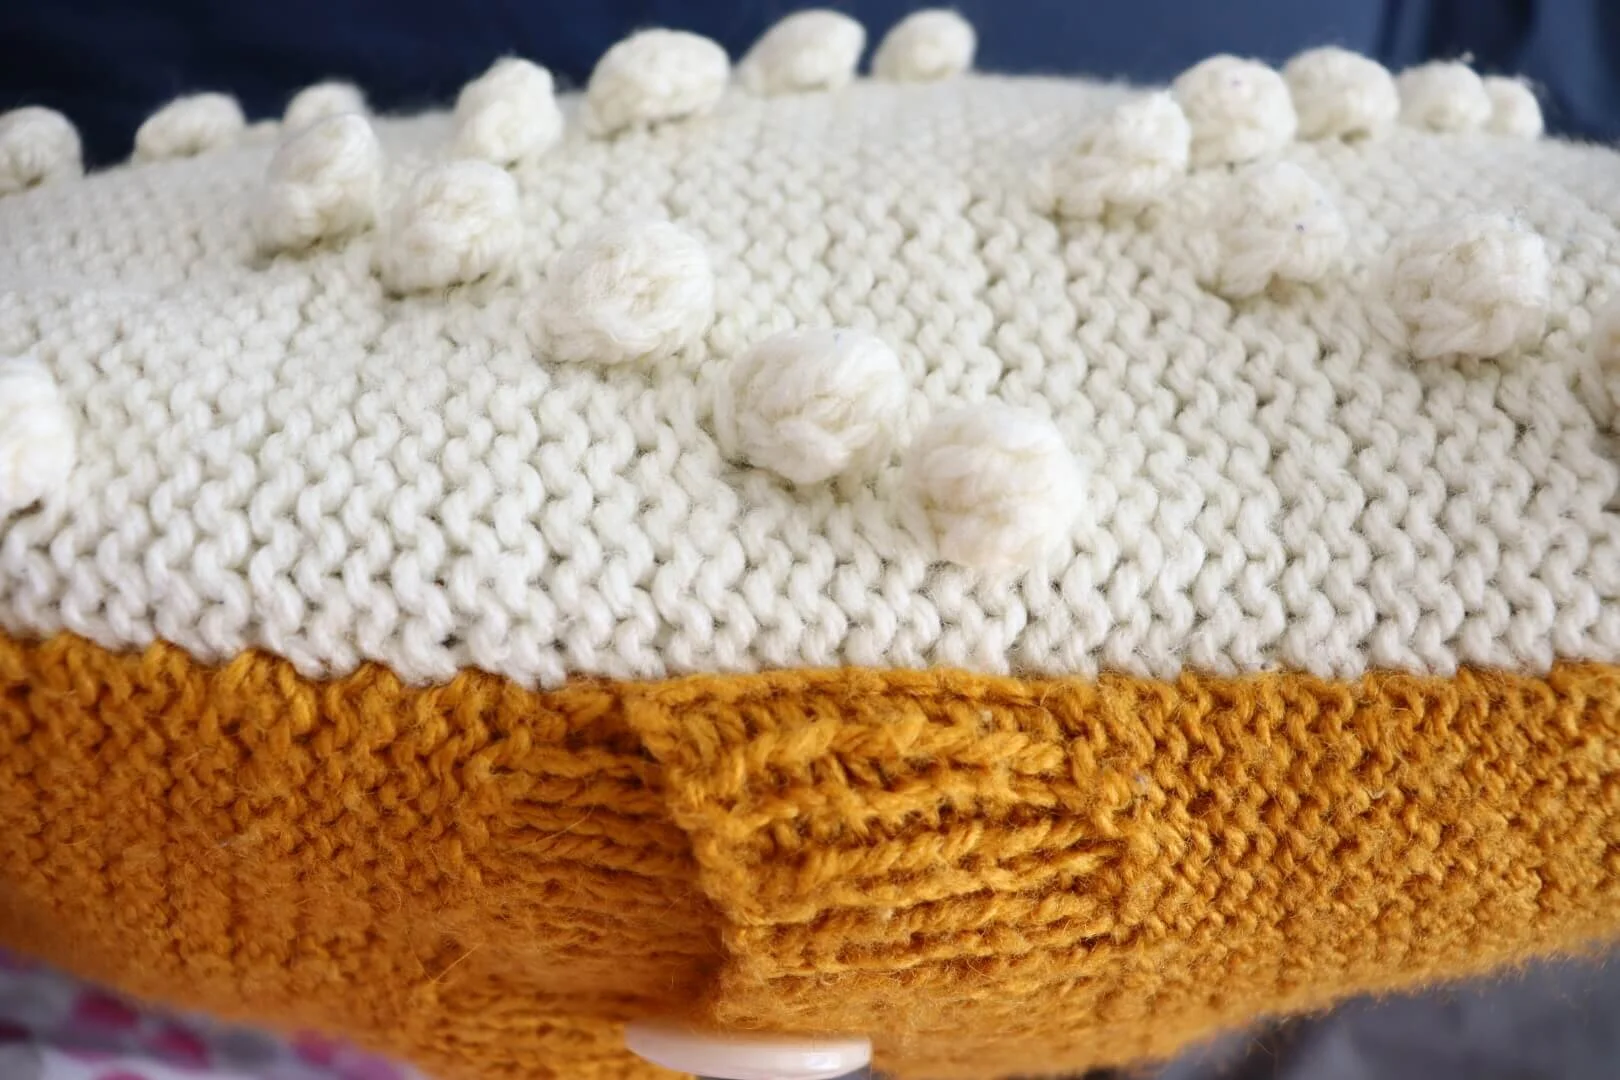
The Cordilleras Pillow features a bobble chevron motif worked on a Reverse Stockinette stitch background. It includes buttonholes so you can easily take the pillow insert or filling out of the cover and wash it at convenience.
Cordilleras in spanish means “Mountain Range”, and I believe it's the perfect name for this textured chevron. After all, it does look like a mountains aligned.
The Cordilleras Pillow is worked flat in 3 separate pieces: the front, and the button and buttonhole flaps for the back. Once they are knitted, they must be seamed together.
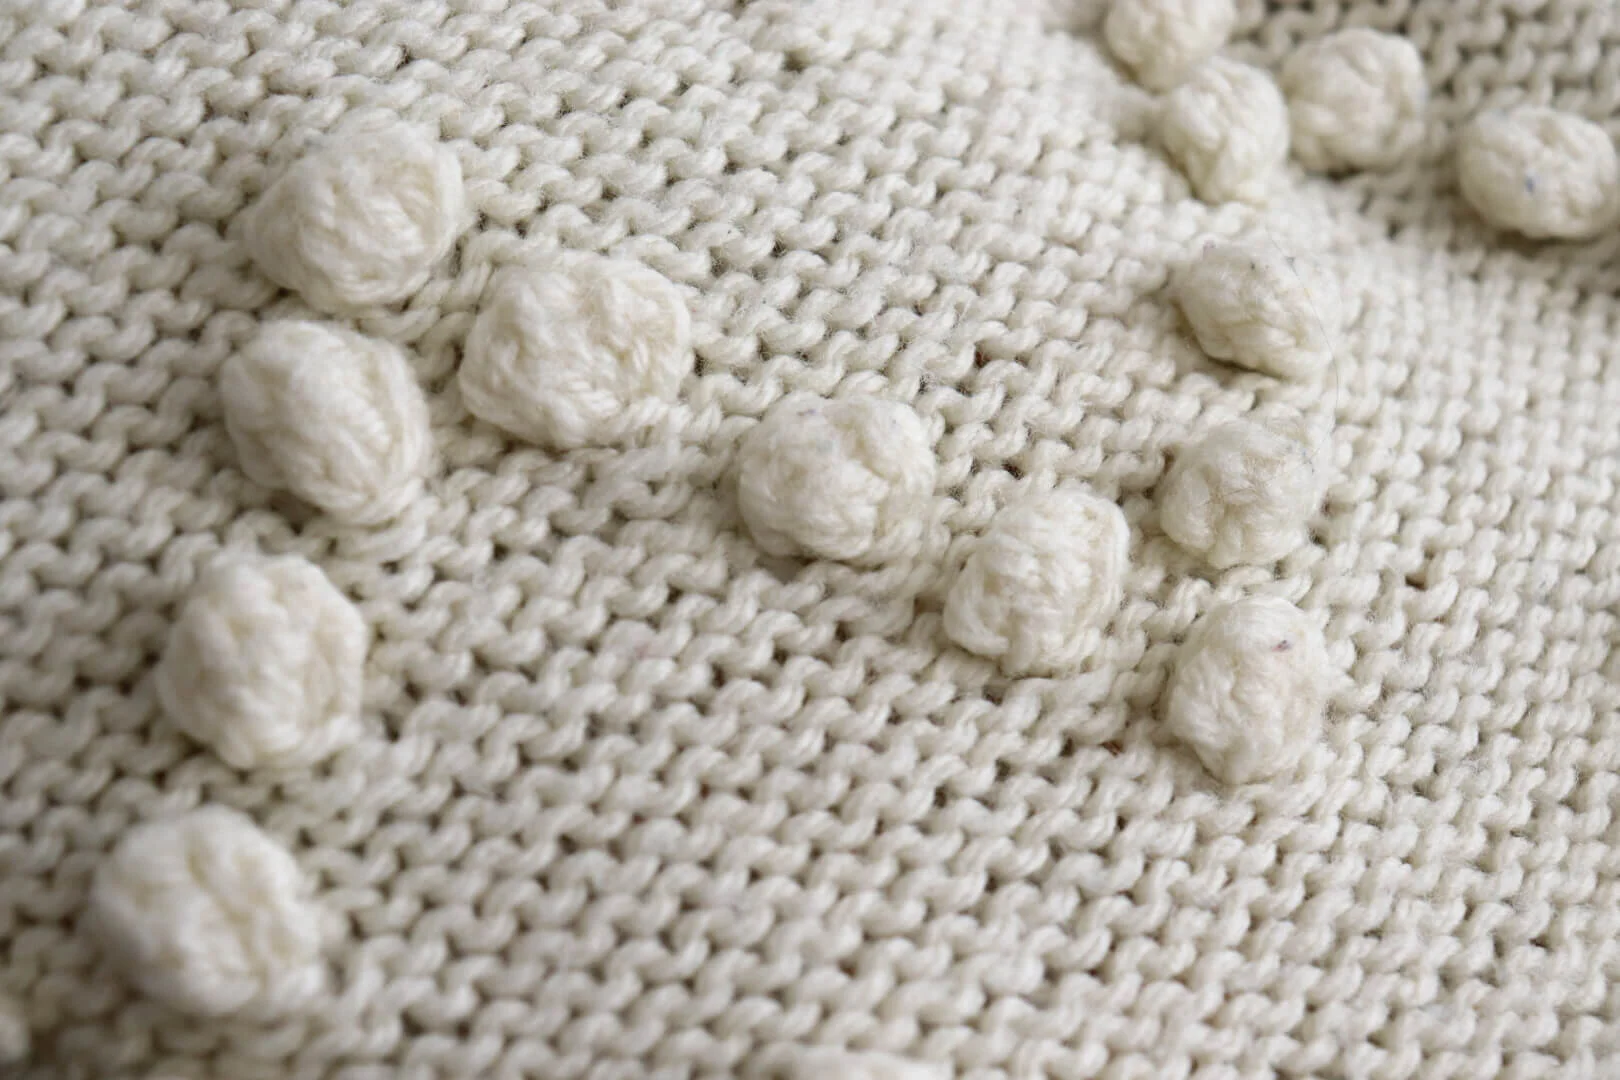
Bobbles, bobbles, bobbles!!
Yeap, this pillow cover has many bobbles, and I love it for it! If you’ve been wanting to learn how to make them, or just practice with them, this is the perfect project for it. You are gonna make a lot of them, so you will never forget how to make them.
Boho-chic at your fingertips
I’m a sucker for the boho-chic style in everything: clothes, interior design… you name it! An this pillow cover is the epitome of it, with the gorgeous textures created by the bobbles, and the simple design in which they are arranged.


Pattern
Get the ad-free, large print, printable PDF pattern on Ravelry HERE and on Etsy HERE.
PIN this pattern to your Pinterest boards for later HERE.
Techniques Required
Knit & purl, cast-on and bind-off Decreasing
Cast-on: Long-tail cast-on
Bobbles
Working from written instructions
Seaming: Mattress stitch
Yarn
Approx. 274 yds/250 m of Main Color (MC) and 241 yds/220 m of Contrasting Color (CC) of medium worsted weight yarn.
For the sample I have used:
OVEJA, Lanas Cisne (79% acrylic, 21% wool; 167 yds/3.52 oz (153 m/100 g)): color 08003 and 08026.
Materials
Needles
Size US 10 (6mm) needles or size to obtain correct gauge.
Notions
1.5 in/3.8 cm buttons (4).
Tapestry needle.
Sewing needle and matching thread.
18 x 18 in (46 x 46 cm) cushion insert or filling.
Gauge
14.5 sts and 18.5 rows = 4 in (10 cm) square in Stockinette stitch with size US 10 (6 mm) needles.
Take the time to save time! Please knit a gauge swatch to check your gauge.
Finished Measurements
18 in (46 cm) wide and 18 in (46 cm) long.
Notes
I am a loose knitter. If you are a tight knitter, I advise you to try knitting a gauge swatch with one needle size bigger than stated in pattern.
For best results, read the entire pattern before you start to knit. Send your questions/comments to [email protected]
Abbreviations
BO: bind off CO: cast on
k: knit st
k2tog: knit 2 together
LN: left-hand needle
MB: make bobble
p: purl st
p2tog: purl 2 together
psso: pass slipped stitch over
Reverse St st: Reverse Stockinette stitch
RN: right-hand needle
RS: right side
sl: slip st
st(s): stitch(es)
WS: wrong side
yo: yarn over
Techniques
Knit 2 together: insert the needle through the front loops of the next 2 sts on the LN and k them together as if they were 1 st.
Make Bobble: [(k1, yo) twice, k1] in 1 st — 5 sts, turn, p5, turn, k5, turn, p2tog, p1, p2tog, turn, sl1, k2tog, psso.
Purl 2 together: insert the needle through the front loops of the next 2 sts on the LN from back to front and p them together as if they were 1 st.
Slip st: slip the st to the RN purlwise, unless instructed otherwise.
Stitch Patterns
Reverse St st.
RS rows: purl.
WS rows: knit.
Rib 1x1 st.
(Odd number of sts)
Row 1: *k1, p1; repeat from * until there is 1 st left, k1.
Row 2: p the p sts, k the k sts.
Repeat row 2 until desired length.
Schematics

Let’s knit!
Front
Using size US 10 (6 mm) needles and the Long-tail CO method, CO 71 sts with MC.
Set up row (WS): k all sts.
Rows 1, 5, 9, 13, 17 (RS): p all sts.
Row 2 and all WS rows: k all sts.
Row 3: p3, *MB, p15; repeat from * three times more, MB, p3.
Row 7: p3, *p2, MB, p11, MB, p1; repeat from * three times more, p4.
Row 11: p3, *p4, MB, p7, MB, p3; repeat from * three times more, p4.
Row 15: p3, *p6, MB, p3, MB, p5; repeat from * three times more, p4.
Row 19: p3, *p8, MB, p7; repeat from * three times more, p4.
Row 20: k all sts.
Repeat rows 1 to 20 three more times.
Work in Reverse St st until the piece measures 18 in (46 cm) from the beginning.
BO all sts.

Back
Button flap
CO 89 st with CC.
Row 1 (RS): *p1, k1; repeat from * until there is 1 st left, p1.
Row 2: *k1, p1; repeat from * until there is 1 st left, k1.
Repeat rows 1 and 2 until the piece measures 3” (7.5 cm) from the beginning. End with a WS row.
Next row (decrease row) (RS): *p2, p2tog; repeat from * once more. **p3, p2tog; repeat from ** 14 times more. P2, p2tog, p2. —71 sts.
Work in Reverse St st until piece measures 11 in (28 cm) from beginning.
BO all sts.
Buttonhole flap
Cast on 89 sts with CC.
Work rows 1 and 2 for the Button Flap twice. Then row 1 once more.
Buttonholes
Row 1 (WS): (k1, p1) three times, k1, [yo twice, k2tog, (p1, k1) eleven times] three times. Yo twice, k2tog, (p1, k1) four times.
Row 2 (RS): p1, (k1, p1) four times, [k the first loop of the yo, drop the second loop off the needle, p1, (k1, p1) eleven times] three times. K the first loop of the yo, drop the second loop off the needle, (p1, k1) three times, p1.
Row 3 (WS): (k1, p1) three times, k1, [p into the center of the hole, then drop the st on the needle above the hole off the needle, (k1, p1) eleven times, k1] three times, p into the center of the hole, then drop the st on the needle above the hole off the needle, (k1, p1) four times, k1.
Work in Rib 1x1 as stablished until piece measures 3 in (7.5 cm) from the beginning. End with a WS row.
Next row (decrease row): *p2, p2tog; repeat from * once more. **p3, p2tog; repeat from ** fourteen times more, p2, p2tog, p2. —71 sts.
Work in Reverse St st until piece measures 11 in (28 cm) from beginning.
BO all sts.
Finishing
Sew the sides and the top of the button flap to the front. Sew the sides and the top of the buttonhole flap to the front, overlapping the button flap at the center. Sew buttons to the button flap. Add insert or filling to the pillow cover.
And now your Cordillera Pillow is ready to rock and style any corner of your home!
You can share your handknits with the KBD community tagging me and using the hashtags #CordillerasPillow and #katebarriosdesigns

Credits
Tech editor: Catherine Whelan (@snooptiggercrafst)
Copyrights
Copyright Kate Barrios Designs, 2021. You are welcome to sell finished items of this pattern, but please give credit to my design linking my website and social media.
You are not allowed to alter this pattern and sell a similar one.
Version 3, December 2020.


