
The Bolena Headband
An intermediate-friendly knitted headband– my Bolena Headband – is a free pattern here on the blog! Read through my inspiration, materials and stitch patterns used. Or scroll on down for the free pattern.
Introduction + Design
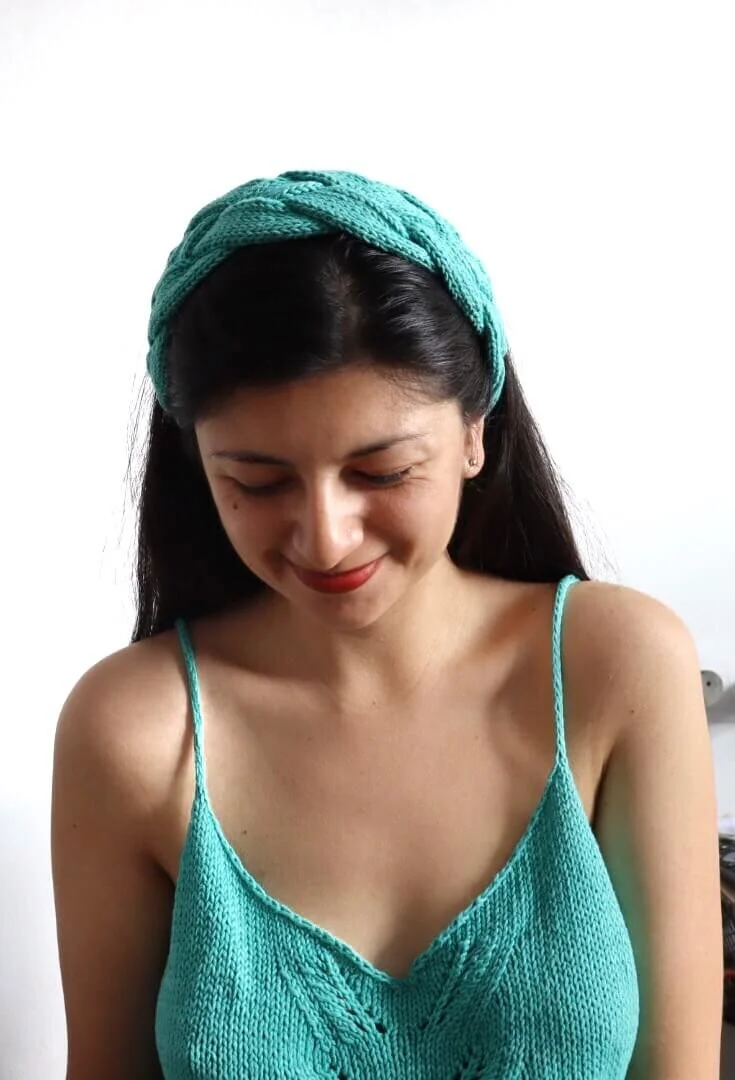
The Bolena Headband is inspired by the toques in vogue in the English court in the 16th century. The headband is wide at the top, which elongates the face and the plait detail gives you that elegant touch, even if you don’t know how to braid hair!
The Bolena Headband is worked in the round in one piece. After reaching the length of the first tie, it’s divided in four to work each of the strands of the plait separately. Once you have reach the length for each of the four strands, you will braid them into the 4-strand plait, and then joined them to work the second tie.
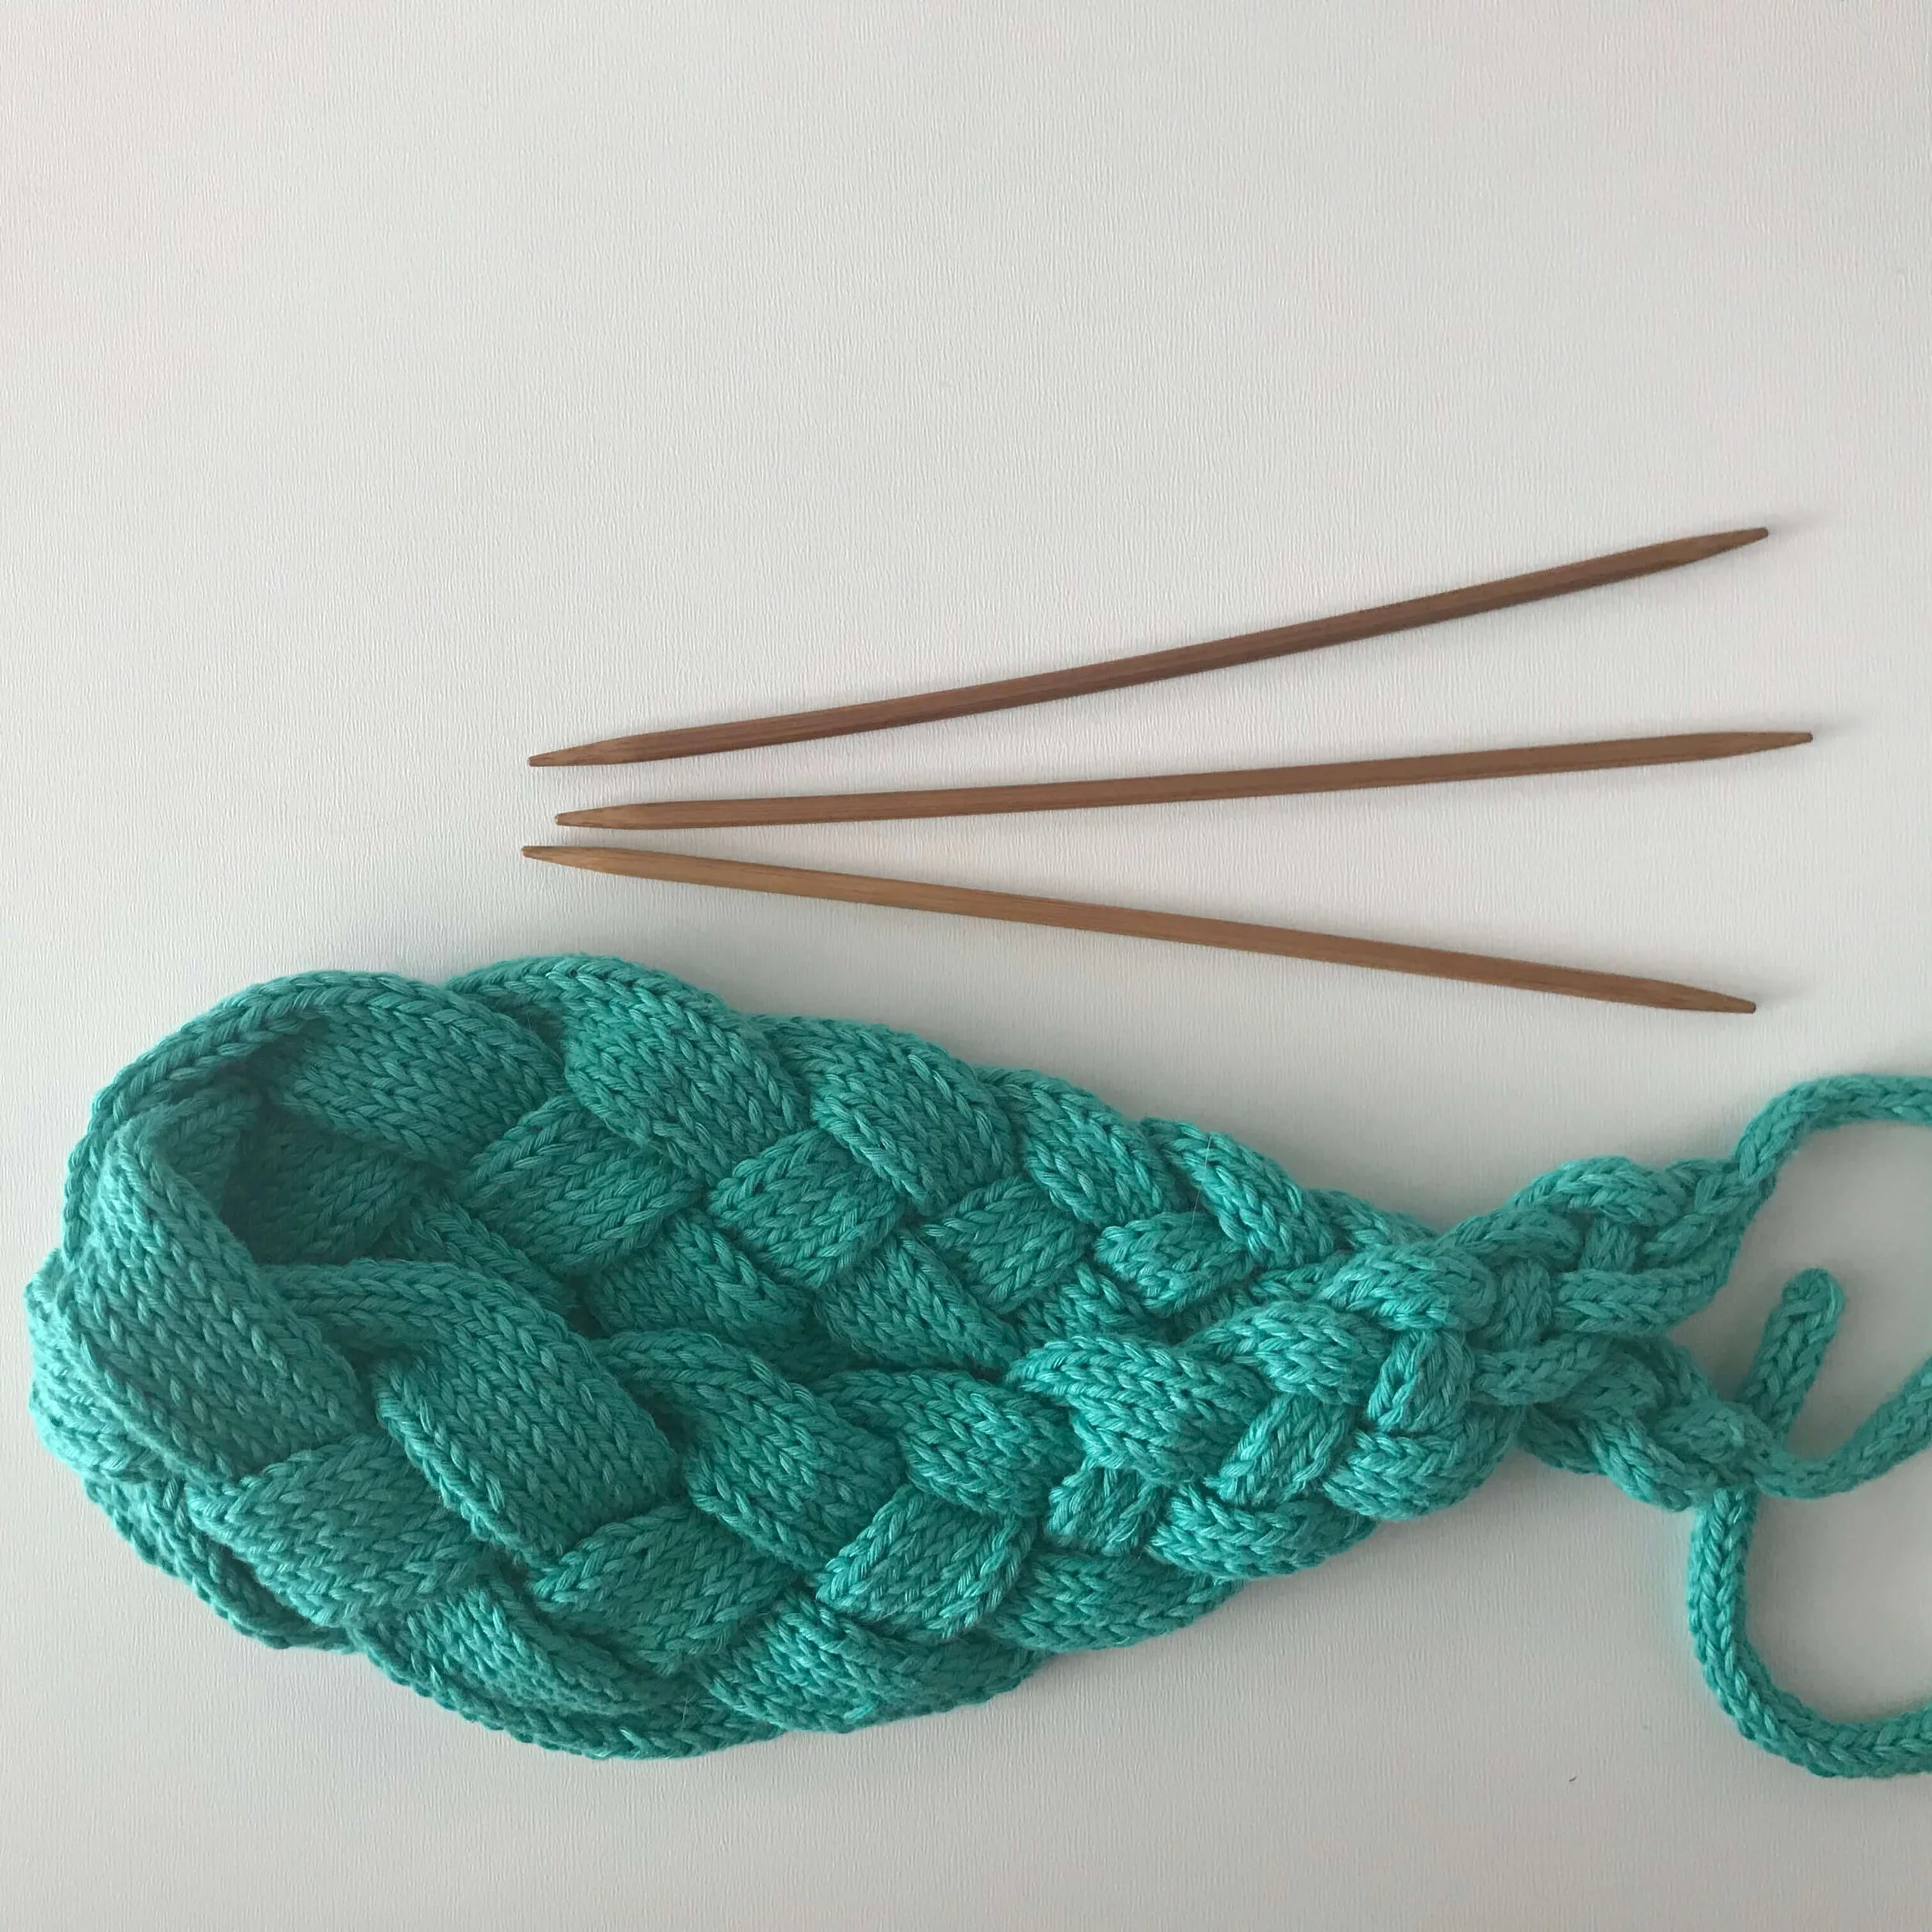
Knit with DPNs!
DPNs (double pointed needles) can be a little scary, but it doesn’t have to be. If you wanna try it out first, go ahead and try this pattern. you’ll be handling a small amount of stitches, which will help you to maneuver the dpns much more easily.
Spring is (almost) here!
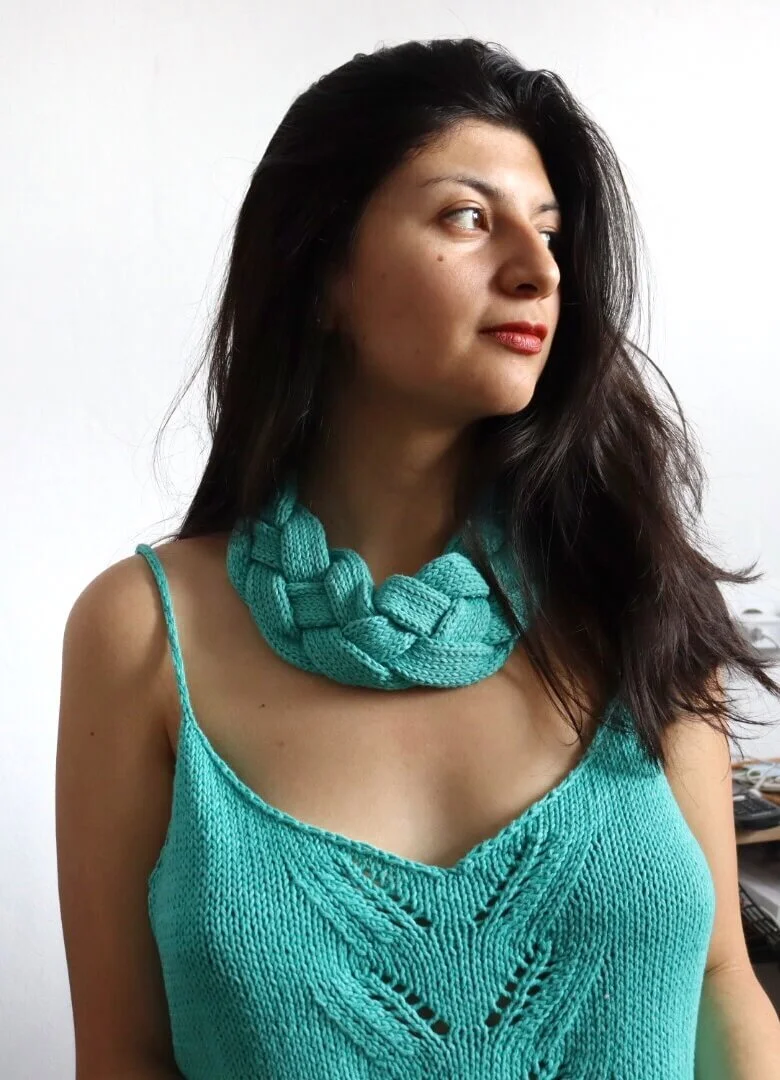
And the Bolena Headband is the perfect accesory to go with it! You can use it to hold your hair out of your face, as a crown… even as a unique necklace. The posibilities are endless, and absolutely enchanting.
Yarn leftovers, here we come.
This pattern only requires about 2.8 oz/78 g; 131 yds/117 m of Worsted Weight yarn (4), 50% Cotton, 50% Bamboo so you can use some of your yarn leftovers to make this headband.
A quick knit!
You can likely wip this project in a couple of days, and we all know how satisfactory quick projects are, don’t we?
There’s a video for that!
I’m gonna start an experiment with this pattern. I made a video to help out with the pattern, where I guide you step by step through all the techiniques required. So if you have any doubts, feel free to check the video out! You’ll find it below.


Pattern
Get the ad-free, large print, printable PDF pattern on Ravelry HERE and on Etsy HERE.
PIN this pattern to your Pinterest boards for later HERE.
Techniques Required
Knit stitch
Knit in the round with double pointed needles
Increase and decrease
Braid
Yarn
Recommended Yarn
Rosários 4 Boolero Medium Weight yarn (3.5 oz/100 g; 164 yd/150 m; 50% cotton/50% bamboo). 1 ball. Color #33.
Or
Approximately 2.8 oz/78 g; 131 yds/117 m of Worsted Weight yarn (4), 50% Cotton, 50% Bamboo.
Materials
Needles
A 4-needle set of US 7/4.5 mm double pointed needles.
Note: Adjust needle sizes to obtain gauge.
Notions
Tapestry needle.
Stitch markers or scrap yarn.
Gauge
12 sts and 26 rounds = a tube 1”/ 2.5 cm wide and 4”/10 cm long, in Stockinette stitch in the round (k all sts on all rounds) with US size 7/4.5 mm needles.
The gauge is not important for this pattern, unless you want achieve the exact same width measurements as the sample. If you don’t, please keep in mind the lengths given in the instructions to do the proper increases and decreases.
Finished Measurements
Tie length: 12”/25 cm
Headband circumference: 22”/56 cm
Headband widest point: 3 ½”/9 cm
Notes
I am a loose knitter. If you are a tight knitter, I advise you to try knitting a gauge swatch with one needle size bigger than stated in pattern.
For best results, read the entire pattern before you start to knit. Send your questions /comments to [email protected]
Abbreviations
dpn(s): double pointed needle(s)
k: knit
kfb: knit front and back
k2tog: knit 2 together
LN: left-hand needle
m1R: make 1 right
RN: right-hand needle
st(s): stitch(es)
ssk: slip, slip, knit
Techniques
These are the techiniques used in the pattern. Or you can follow along the video on the “Let’s knit” section to watch the techiniques demonstrated.
Knit front and back: insert the RN into the front loop of the first st on the LN and knit it. Do not drop the st off the LN. Keeping the yarn in the back, insert the RN into the back loop of the same st and knit it. Drop the st off the LN.
Knit 2 together: insert the needle through the front loops of the first 2 sts on the LN needle and k them together as if they were 1 st.
Make 1 Right: increase method that creates a new stitch from the strand between 2 existing stitches, which leans towards the right. To do it, insert the left-hand needle from back to front under the strand between the left-hand needle and the right-hand neddle, lifting the strand onto the needle. With the yarn in back, insert the right-hand needle from front to back into the front loop of the stitch. Knit it.
Slip, slip, knit: sl next 2 sts to the right-hand needle, one by one, kwise. Slide the left-hand needle into the front loops of the slipped sts and knit them together.
Schematic
Let’s knit!
Begin the First Tie
Cast on 2 sts, place 1 st into one needle each, and join in the round.
Round 1: kfb twice. 2 sts increased. — 4 sts.
K all rounds until you finish working round 65, or until the piece is 12”/25 cm long from the beginning.
Round 66: kfb four times. 4 sts increased. — 8 sts.
Round 67: k all sts.
Begin Plait
Next round: kfb twice. Place the remaining 6 sts on a st holder or a scrap of yarn in groups of 2, for a total of 3 groups.
You now have 4 sts on the needles. Place 2 sts into each needle and join in the round.
Strip 1
K all sts until you have worked 12 rounds, or until the strip measures 2”/5 cm from the beginning of the strip.
Next round (13): *k1, m1R, k1; repeat from * once. 2 sts increased. — 6 sts.
K all sts until you have worked 12 rounds more, or until the strip measures 4”/10 cm from the beginning of the strip.
Next round (26): *k2, m1R, k1; repeat from * once. — 2 sts increased. 8 sts.
K all sts until you have worked 12 rounds more, or until the strip measures 6”/12.5 cm from the beginning of the strip.
Next round (39): *k1, m1R, k3; repeat from * once. — 2 sts increased. 10 sts.
K all sts until you have worked 12 rounds more, or until the strip measures 8”/15 cm from the beginning of the strip.
Next round (52): *k4, m1R, k1; repeat from * once. — 2 sts increased. 12 sts.
K all sts until you have worked 64 rounds more, or until the strip measures 18”/45 cm from the beginning of the strip.
Next round (117): *k4, k2tog; repeat from * once. — 2 sts decreased. 10 sts.
K all sts until you have worked 12 rounds more, or until the strip measures 20”/50 cm from the beginning of the strip.
Next round (130): *ssk, k3; repeat from * once. — 2 sts decreased. 8 sts.
K all sts until you have worked 12 rounds more, or until the strip measures 22”/55 cm from the beginning of the strip.
Next round (143): *k2, k2tog; repeat from * once. — 2 sts decreased. 6 sts.
K all sts until you have worked 12 rounds more, or until the strip measures 24”/60 cm from the beginning of the strip.
Next round (156): *ssk, k1; repeat from * once. — 2 sts decreased. 4 sts.
K all sts until you have worked 12 rounds more, or until the strip measures 26”/65 cm from the beginning of the strip.
Next round (169): k2tog twice. — 2 sts decreased. 2 sts. Place the 2 sts on a st holder or a scrap of yarn.
Strips 2, 3 and 4
Repeat the following instructions 3 times to work strips 2, 3 and 4.
Pick up the next 2 sts left on hold at the beginning of the plait, being careful not to twist the sts and place them on one of the needles. Join a strand of yarn and kfb twice. You now have 4 sts on the needles. Place 2 sts into each needle and join in the round.
Repeat instructions for strip 1 until you have a total of 4 strips, each of them with 2 sts on st holders or scraps of yarn. You can leave the 2 sts of the last strip you work on the needle.
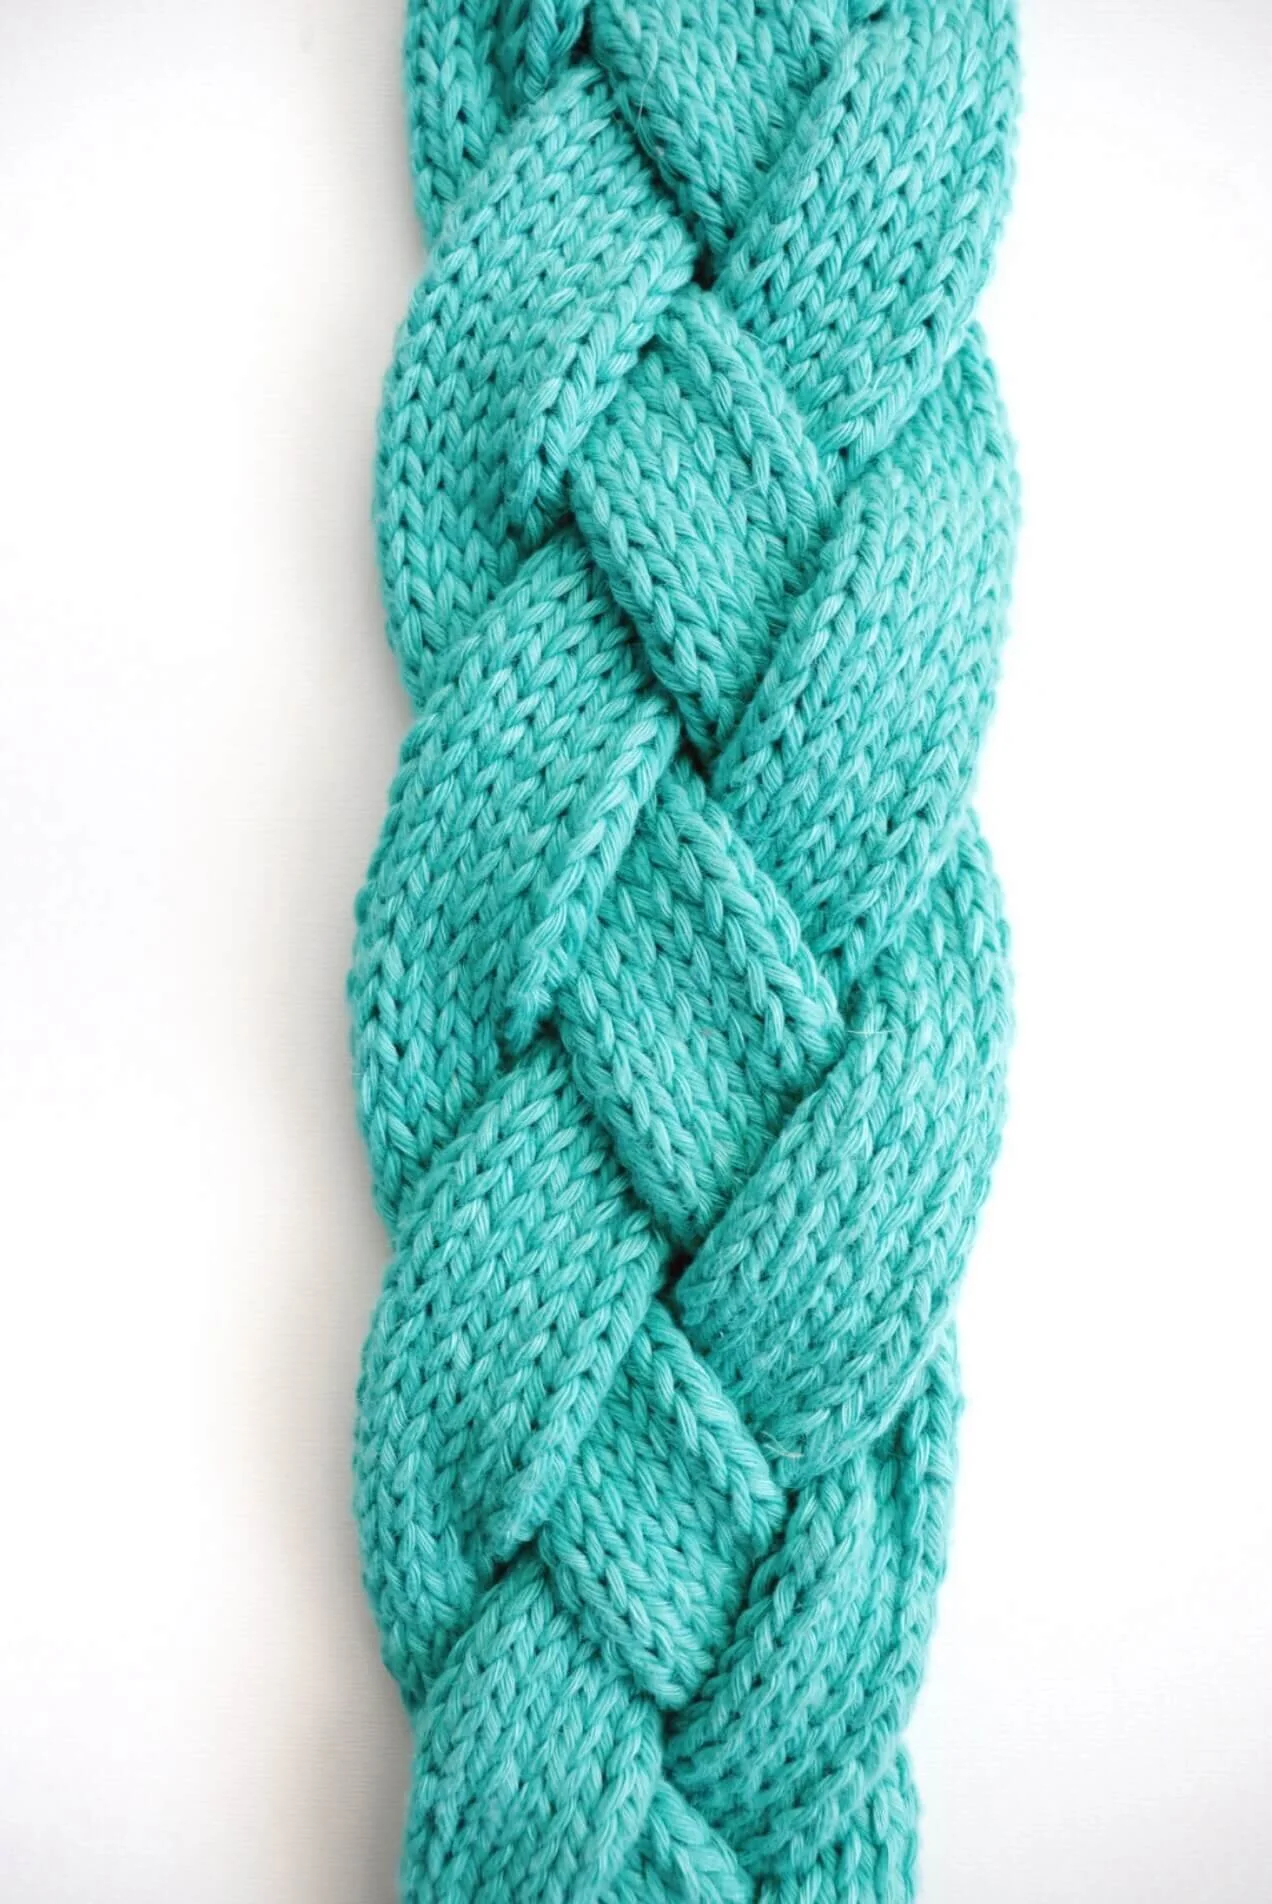
Braid the strips
Once you have all 4 strips, weave in any tails you might have, so it’s easier to braid it. Braid the strips being careful no to tighten the plaid too much, following the instructions on the video above.
Begin the second tie
Hold together the end of the plait, where four groups of 2 sts are on st holders or scraps of yarn. Place 4 sts (2 strips with 2 sts each) in each needle. —8 sts.
Next round: join a strand of yarn amd join the round. k all sts.
Next round: k2tog four times. 4 sts decreased. — 4 sts.
K all rounds until you finish working 65 rounds, or until the piece measures 12”/25 cm long from the beginning of the second tie.
Next round: k2tog twice. 2 sts decreased. — 2 sts.
Bind off all sts.
Finishing
Weave in ends. You’re now ready to rock your Bolena Headband!
You can share your handknits with the KBD community tagging me and using the hashtags #BolenaHeadband and #katebarriosdesigns
Copyrights
Copyright Kate Barrios Designs, 2021. You are welcome to sell finished items of this pattern, but please give credit to my design linking my website and social media.
You are not allowed to alter this pattern and sell a similar one.
Version 2, March 2021.


